
Introduction
In scenarios like classroom teaching, product launches, and work presentations, finishing the content does not always mean the audience has actually participated.
Many times, live Q&A easily falls flat. Verbal voting is hard to count. Remote attendees also have a hard time sharing their thoughts in time. In the end, you can only rely on a post-event survey to collect feedback, and the result is often not that ideal.
Claper lets you upload PPT or PDF files to an independent presentation platform, and add real-time comments, surveys, polls, and Q&A during the presentation. The audience only needs to open the event page in a browser to participate directly. The host can also see feedback in real time from the presentation interface.
In this way, what used to be a one-way slide presentation can become a process with instant responses and live interaction.
In this setup, Claper handles the presentation files and interactive features. PostgreSQL stores the platform data. Docker handles deployment. cpolar maps the local 4000 port inside the LAN to a public URL.
This solution is suitable for classroom teaching, internal training, online sharing, and small to medium-sized events. One thing to note: Claper is not a plugin installed directly inside PowerPoint. The actual presentation is delivered through the Claper page.
1. Deploy Claper with Docker in One Go
As long as you have a device that supports Docker, you can get Claper running fairly quickly. You do not need complicated environment setup, and it is not tied to one specific operating system.
In this example, I am using CentOS 7. Let’s walk through the deployment process.
First, install and run it with Docker, and create a directory for storing files:
mkdir -p /docker/Claper
cd /docker/Claper
Next, save the following content as a docker-compose.yml file.
When PostgreSQL starts for the first time and the data directory is empty, it creates the user and database based on the POSTGRES_* environment variables:
POSTGRES_PASSWORD: claper
POSTGRES_USER: claper
POSTGRES_DB: claper
You can generate SECRET_KEY_BASE with the following command:
openssl rand -hex 64
The complete docker-compose.yml configuration is as follows:
version: "3.0"

services:
  db:
    image: postgres:9
    volumes:
      - ./postgres-data:/var/lib/postgresql/data
    environment:
      POSTGRES_PASSWORD: claper
      POSTGRES_USER: claper
      POSTGRES_DB: claper
    healthcheck:
      test: ["CMD-SHELL", "pg_isready -U claper"]
      interval: 5s
      timeout: 5s
      retries: 10

  app:
    image: ghcr.io/claperco/claper:latest
    user: "0:0"
    ports:
      - "4000:4000"
    volumes:
      - uploads:/app/uploads
    environment:
      DATABASE_URL: postgres://claper:claper@db:5432/claper
      SECRET_KEY_BASE: 08fdecbc274177363ad3e5457ae910005216dc6d27b470cf69d9524e4fc6b951156b3c4709290054cb76778899ef
      ENDPOINT_PORT: 4000
      ENDPOINT_HOST: 192.168.42.140
      MAX_FILE_SIZE_MB: 50
    depends_on:
      db:
        condition: service_healthy

volumes:
  uploads:
Then run the following command to start the service:
# Start all services
docker-compose up -d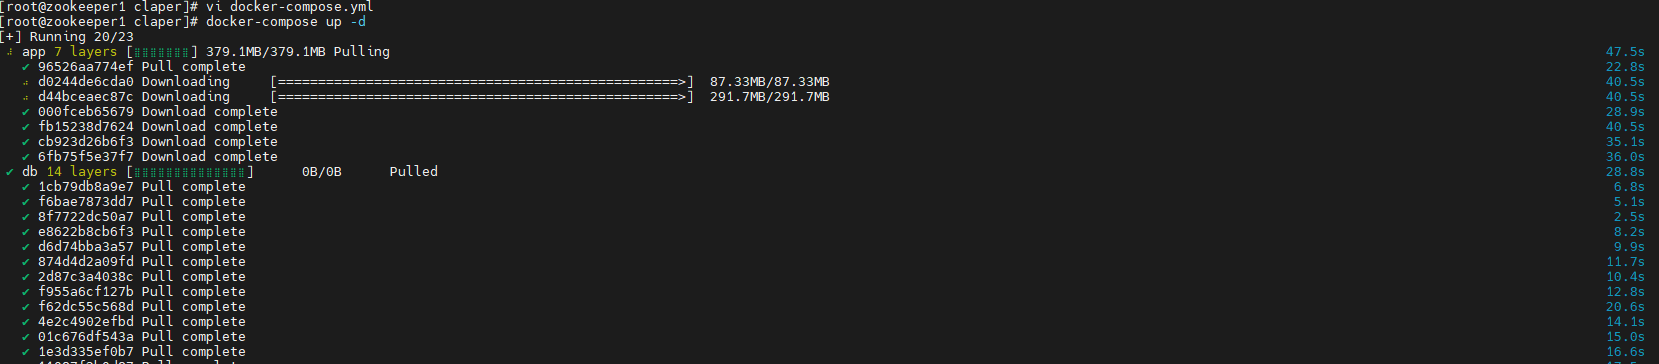
After the service starts, you can enter the PostgreSQL container to check it:
docker exec -it claper-db-1 psql -U claper -d claperIf you can enter the psql prompt normally, it means the user and database have been created successfully.
You can also use the postgres user to view all roles:
docker exec -it claper-db-1 psql -U postgres -c '\du'
After startup is complete, verify whether port 4000 is accessible:
curl http://192.168.42.140:4000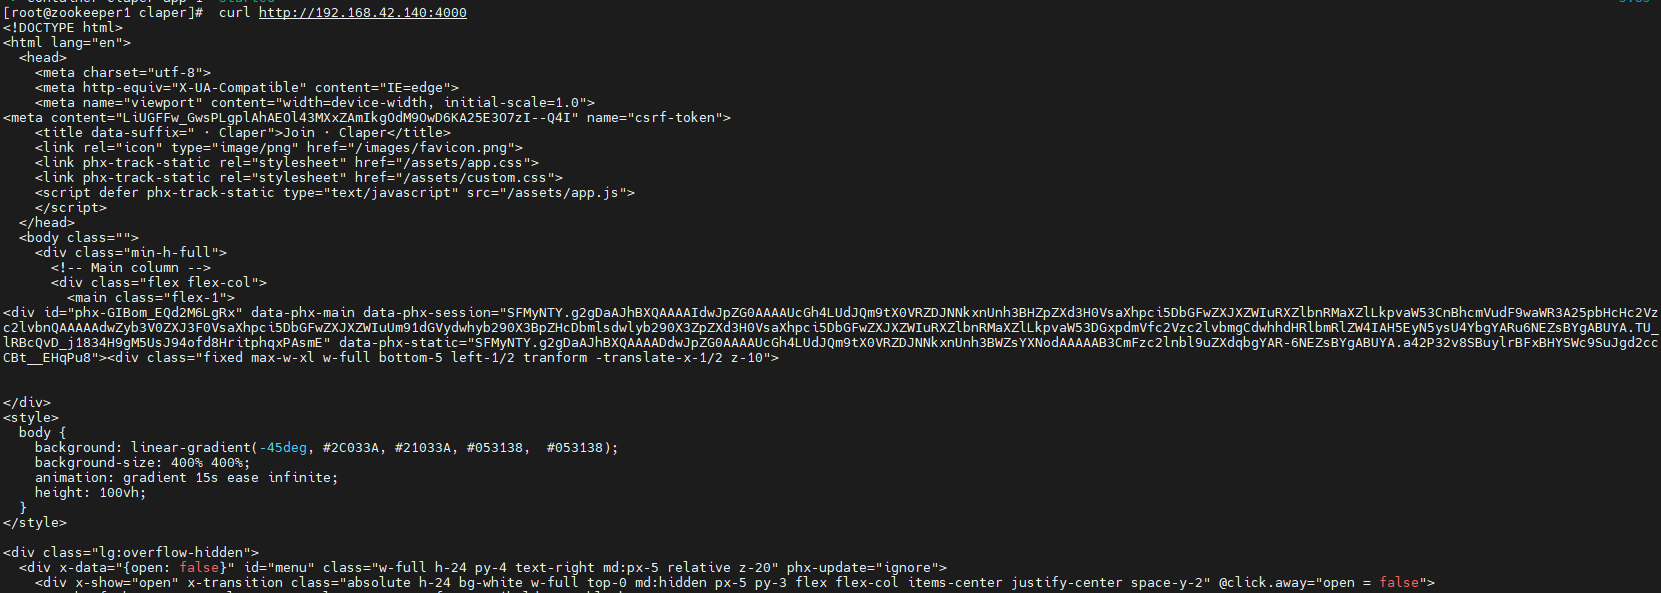
Open the following address, and you should see the Claper welcome page:
http://localhost:4000
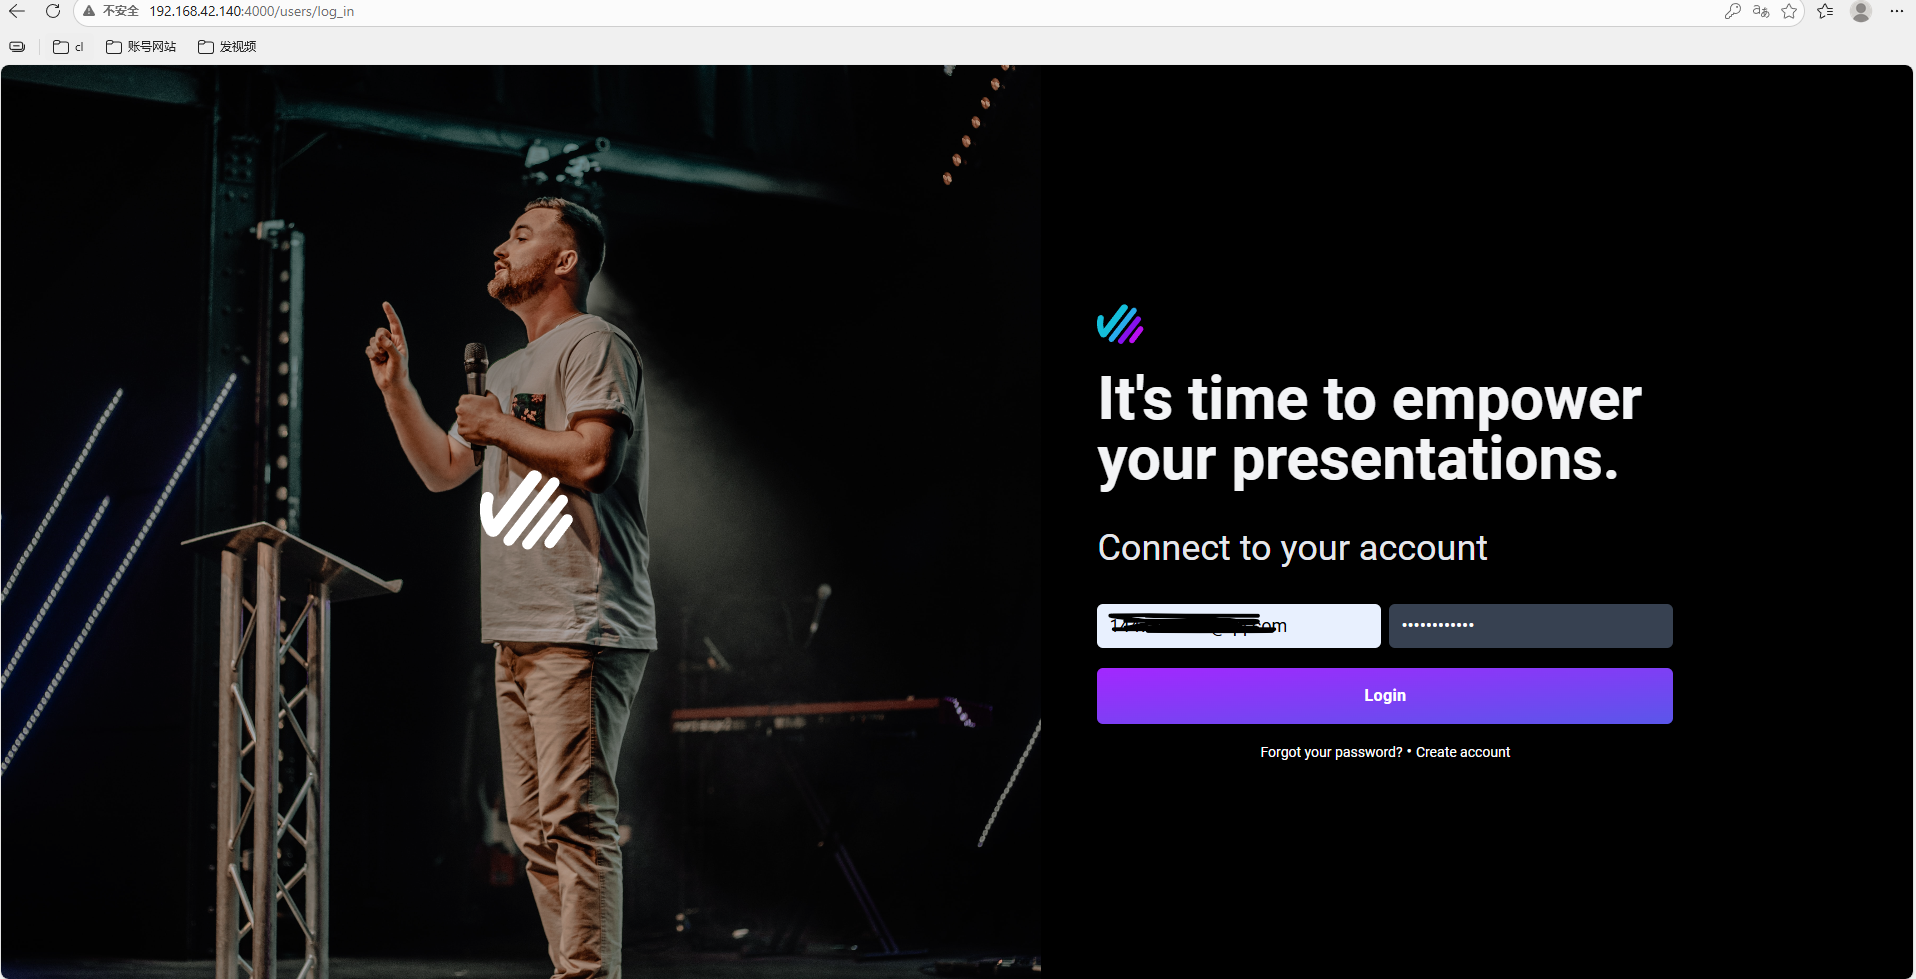
Register and then log in:
After logging in successfully, you can enter the admin dashboard:
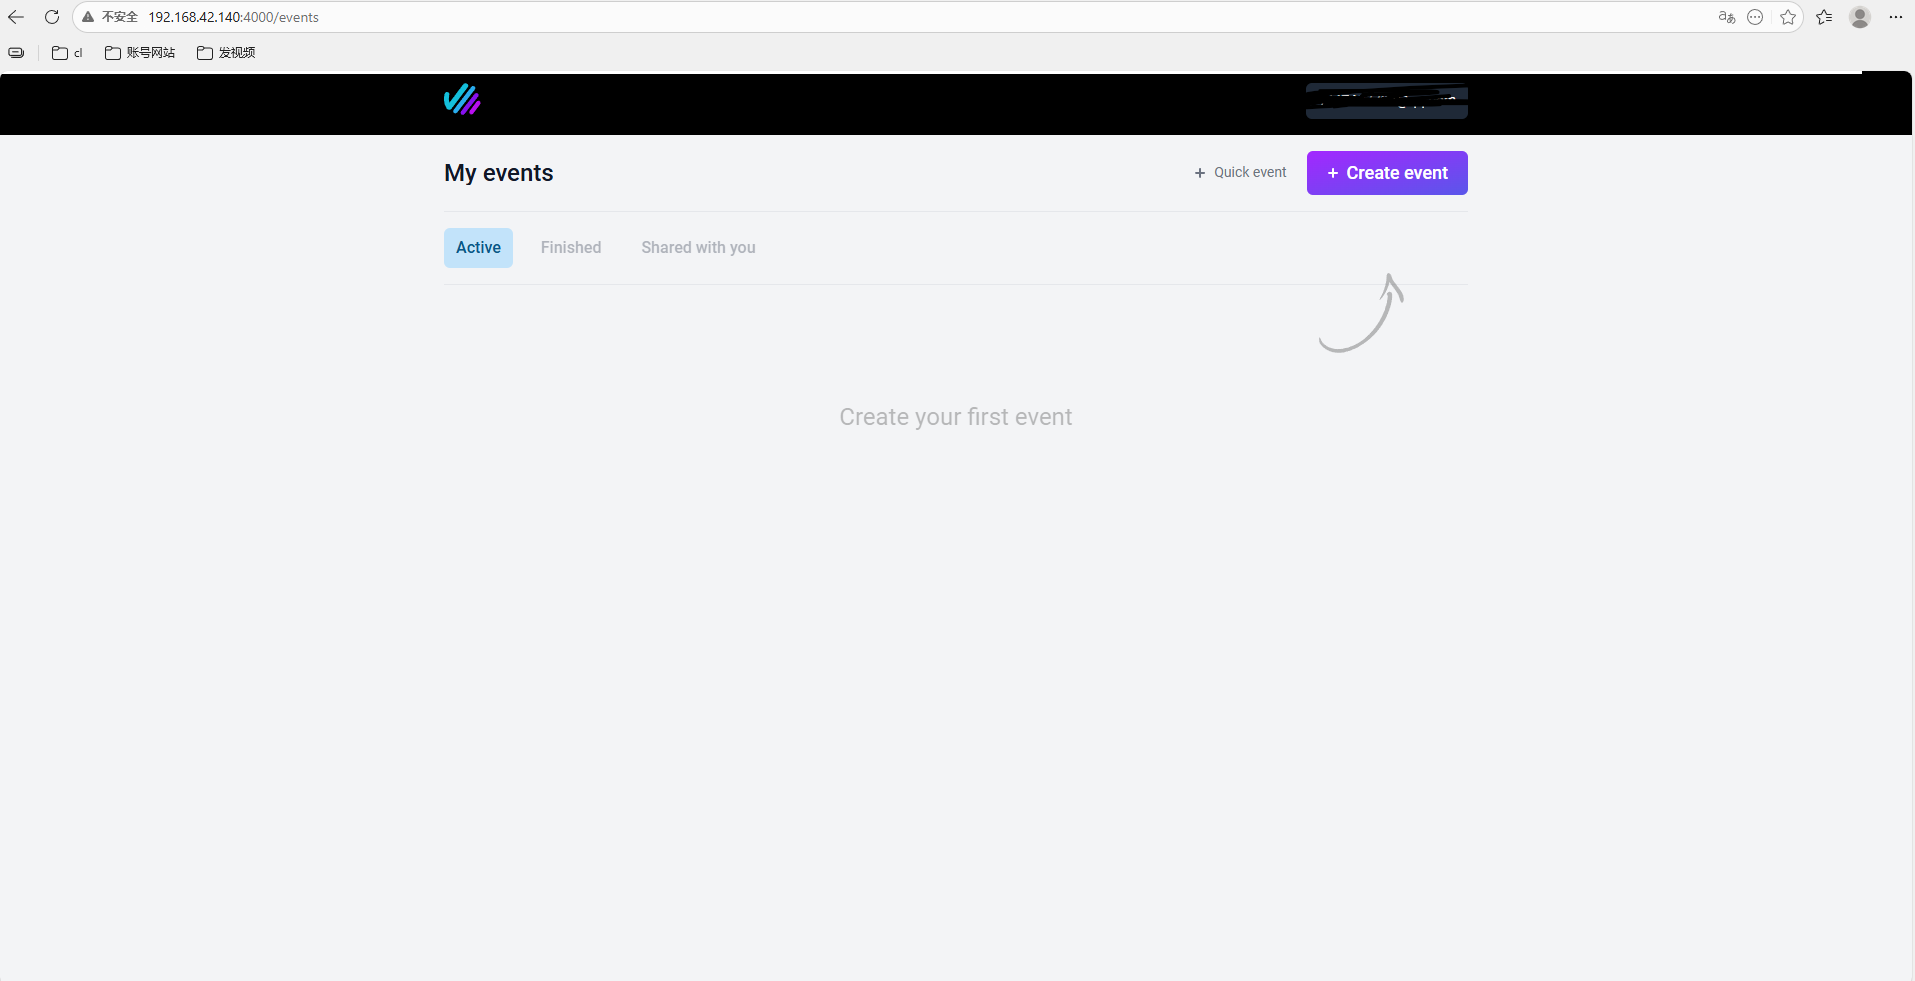
Next, you can create a presentation event:
Follow the on-page instructions.
Click Create in the top-right corner, upload a PPT or PDF, and then configure the interactive components. It is recommended to enable comments and polls, because this makes the interaction effect more obvious.
At this point, the Claper interactive presentation platform has been deployed.
Now you can create a presentation event and invite the audience to join. Whether they scan a QR code on site or open a remote link, the audience can participate through comments, surveys, polls, and other methods. They can also leave useful feedback data during the process.
Whether it is a meeting-room report, classroom lecture, or online launch event, Claper can turn a one-way explanation into a two-way interaction with a stronger sense of participation.
2. Install cpolar
If you have already deployed Claper locally, and the comments, surveys, and real-time feedback features are configured, you may still run into a problem when you want colleagues, clients, or students to participate remotely. They cannot access:
http://your-internal-ip:4000
The reason is simple: the service is running inside a LAN and does not have a public IP address, so external devices cannot reach it.
This is where cpolar can help solve the public access problem.
cpolar can map services running on your local computer, such as SSH, Web services, and databases, to the public internet. This means that even if the service is running at home, in an office, or inside a virtual machine, it can still be accessed through a public URL.
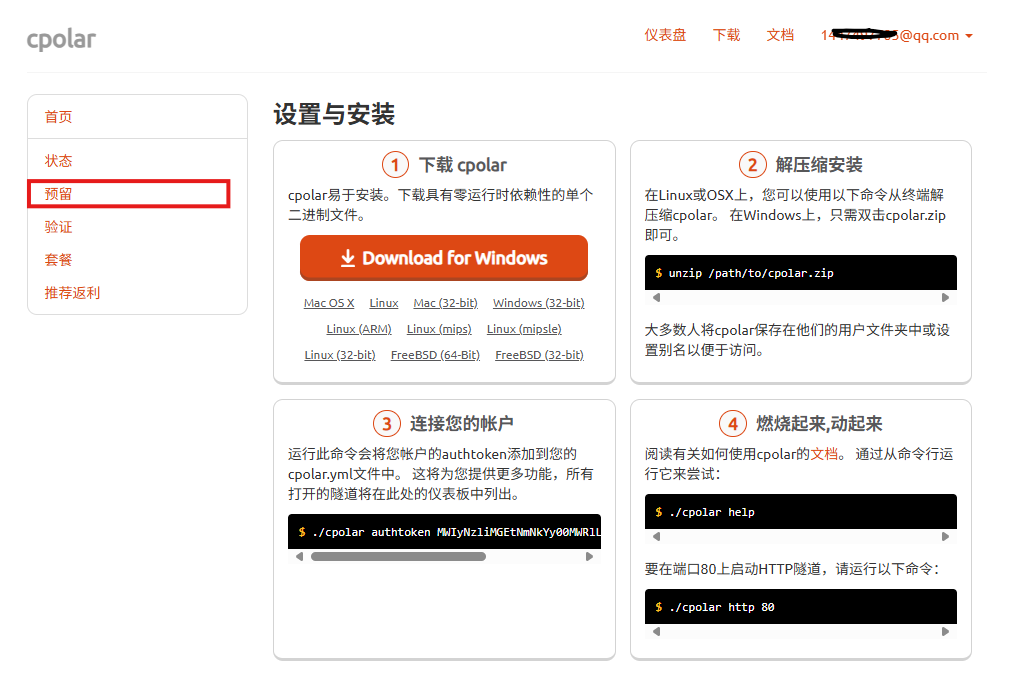
Below are the installation steps for cpolar.
Install it with the one-click script:
sudo curl https://get.cpolar.sh | sh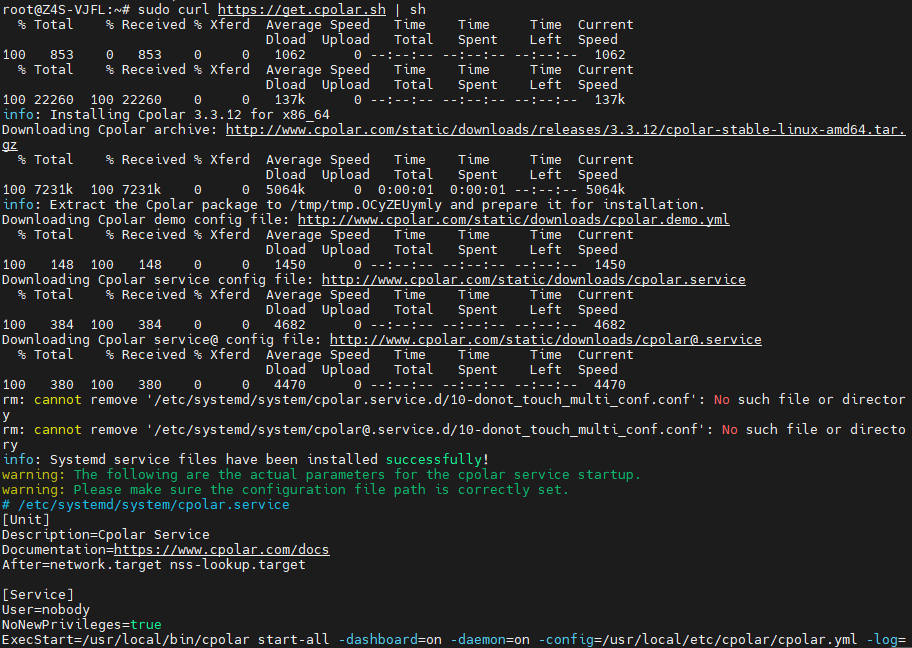
After installation, run the following command to check the cpolar service status. If the status is normal, the service has started successfully.
sudo systemctl status cpolar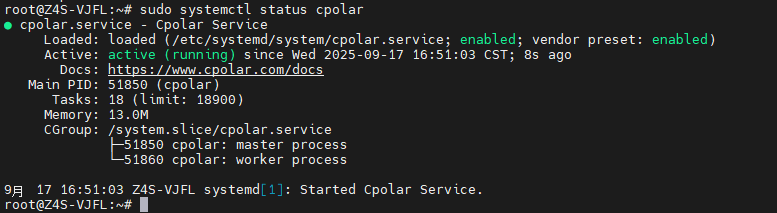
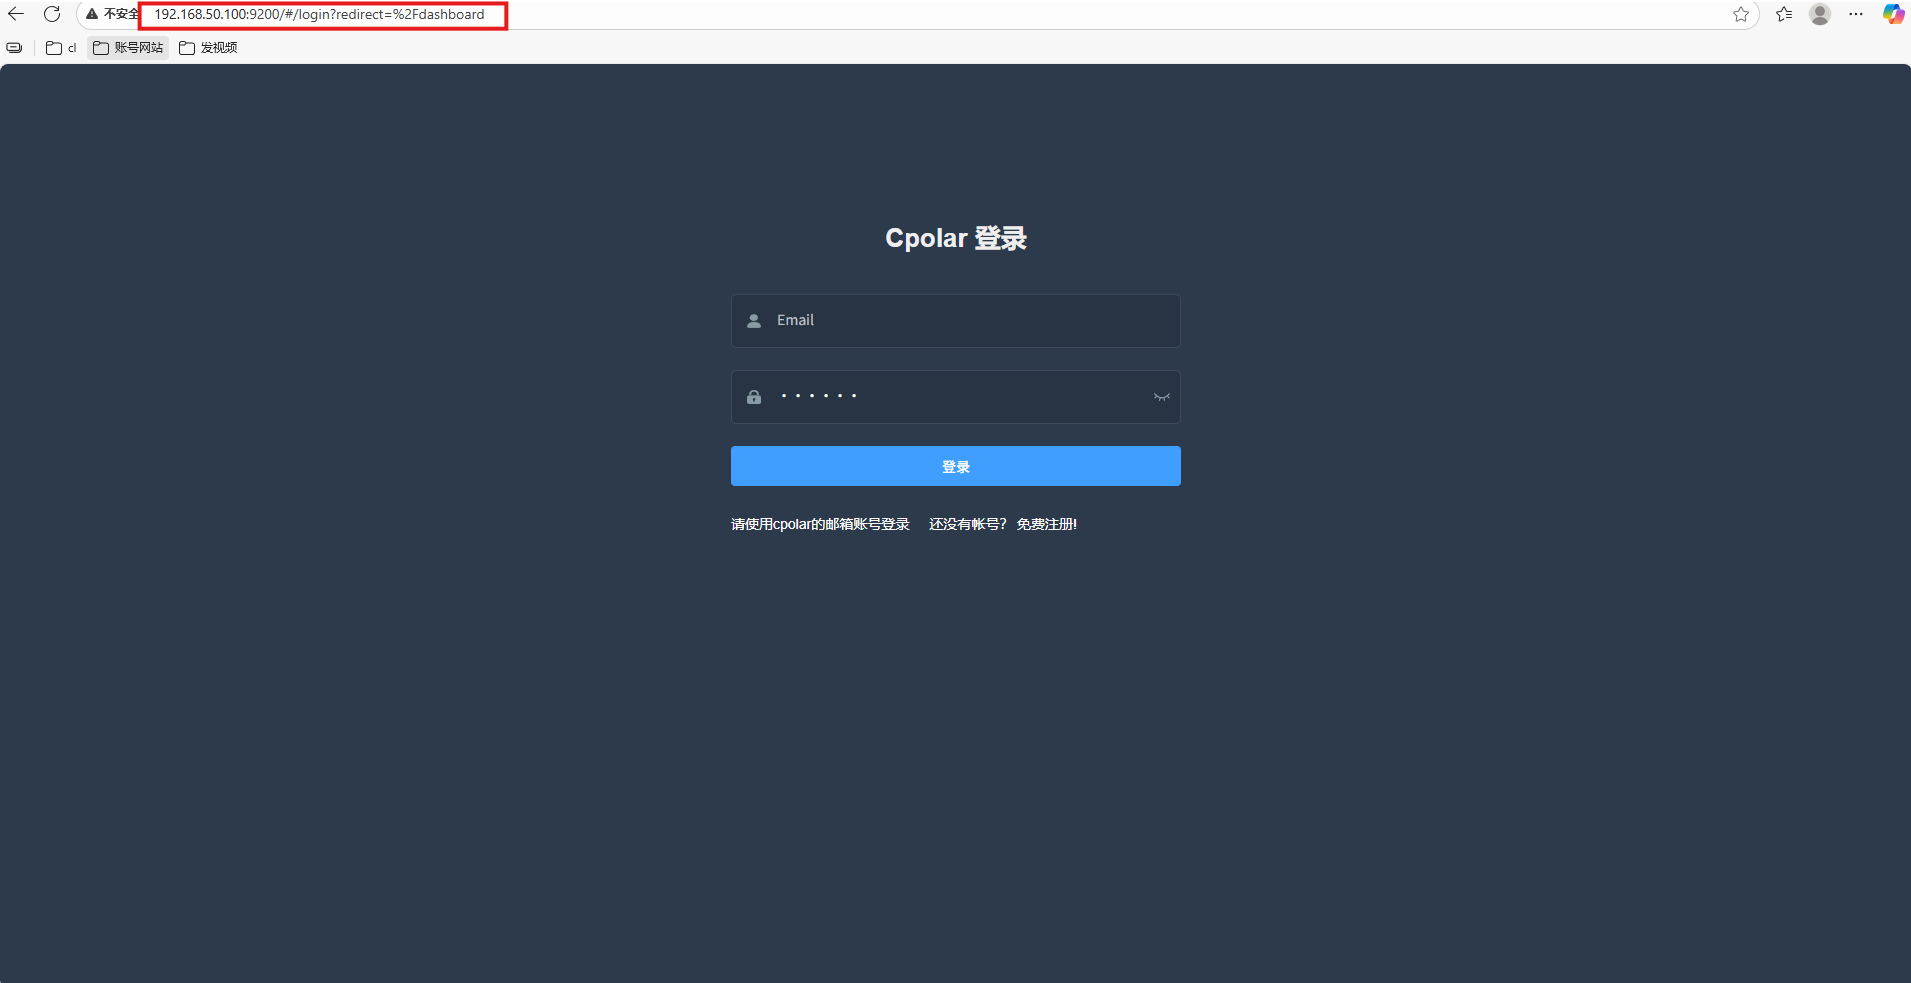
After cpolar is installed and started successfully, enter the virtual machine host IP plus port 9200 in your browser to access the management interface:
http://ip:9200You can also open it locally:
http://localhost:9200After logging in with the account registered on the cpolar official website, you will see the cpolar Web configuration interface. Later tunnel configuration can be completed from this page.
3. Configure a Public URL
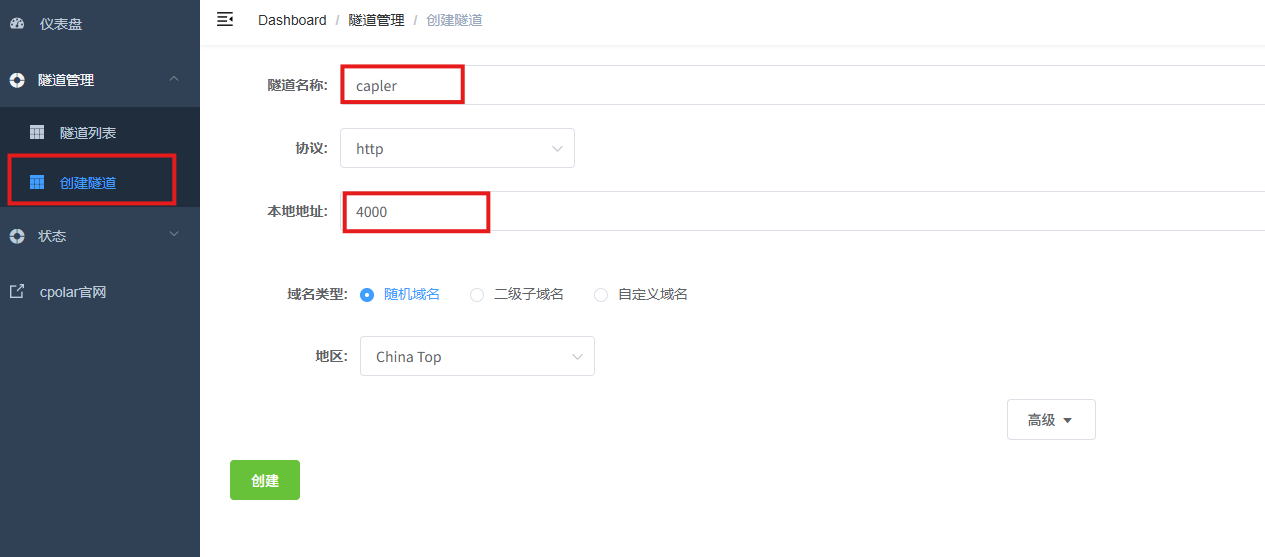
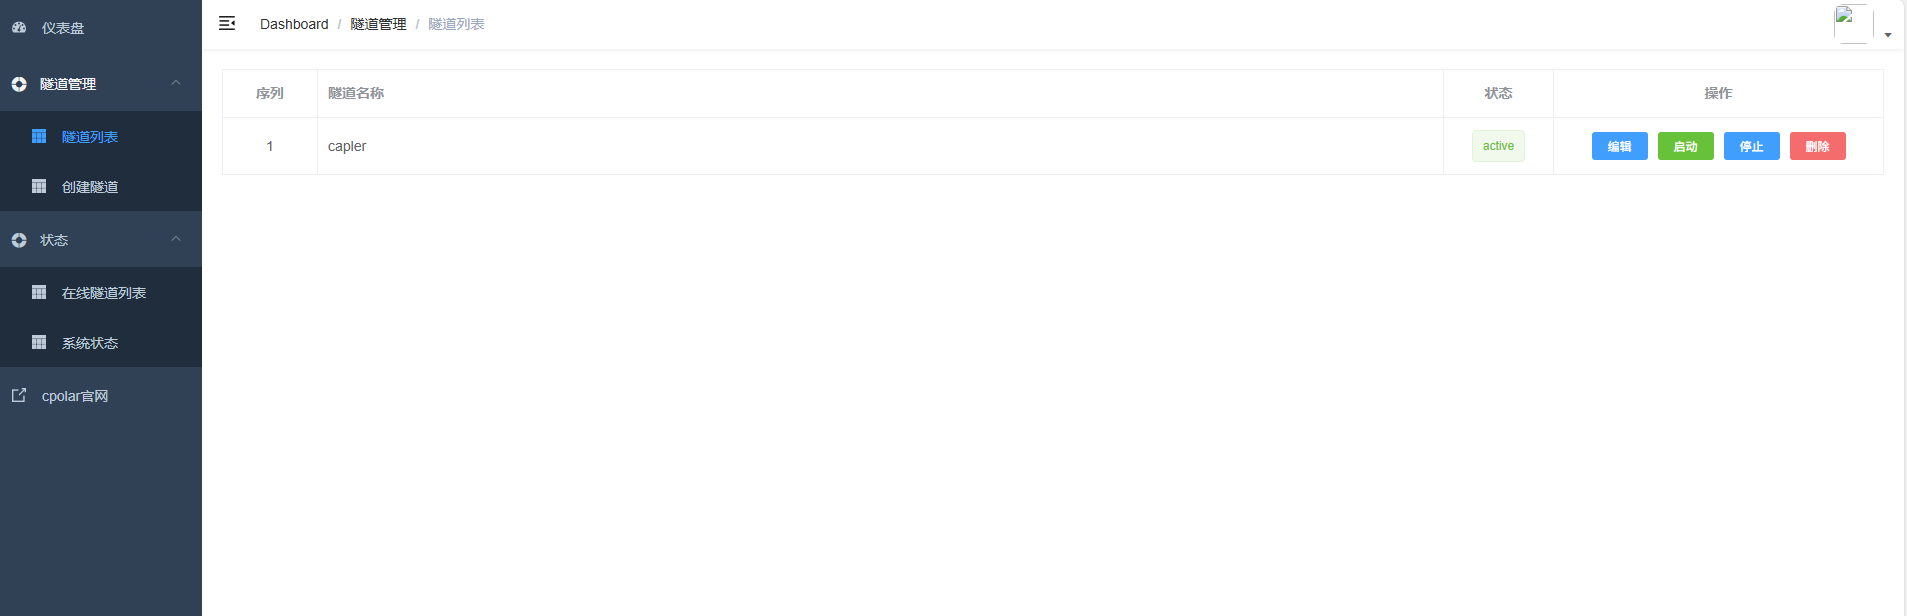
After logging in to the cpolar Web UI management interface, click Tunnel Management → Create Tunnel in the left dashboard.
Configure it with the following parameters:
Tunnel name: custom value. This example uses
claper. Make sure it does not duplicate an existing tunnel name.Protocol:
httpLocal address:
4000Domain type: random domain
Region: choose
China Top
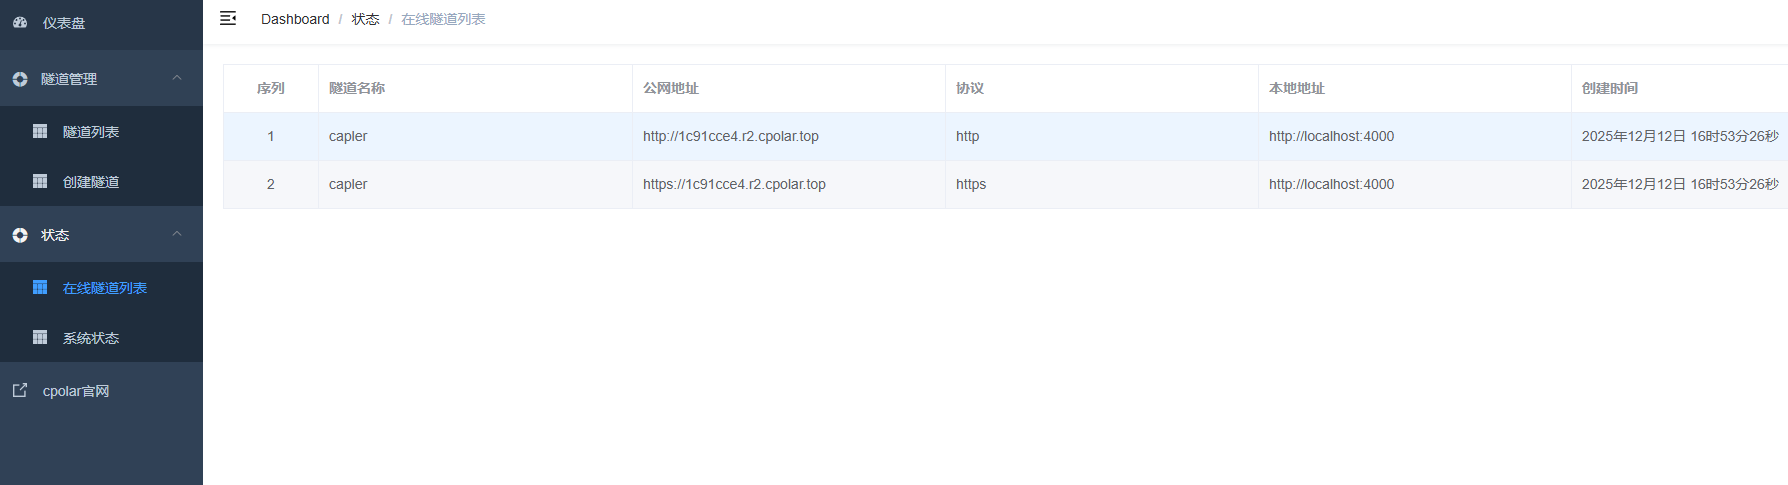
After creation succeeds, open Online Tunnel List on the left. You will see the public URL that was just generated.
Crea un sitio de presentacion y capta leads en minutos
Describe tu idea una vez y We0 AI puede generar un sitio de presentacion, paginas y CMS, y ayudarte a atraer clientes y trafico tras el lanzamiento.
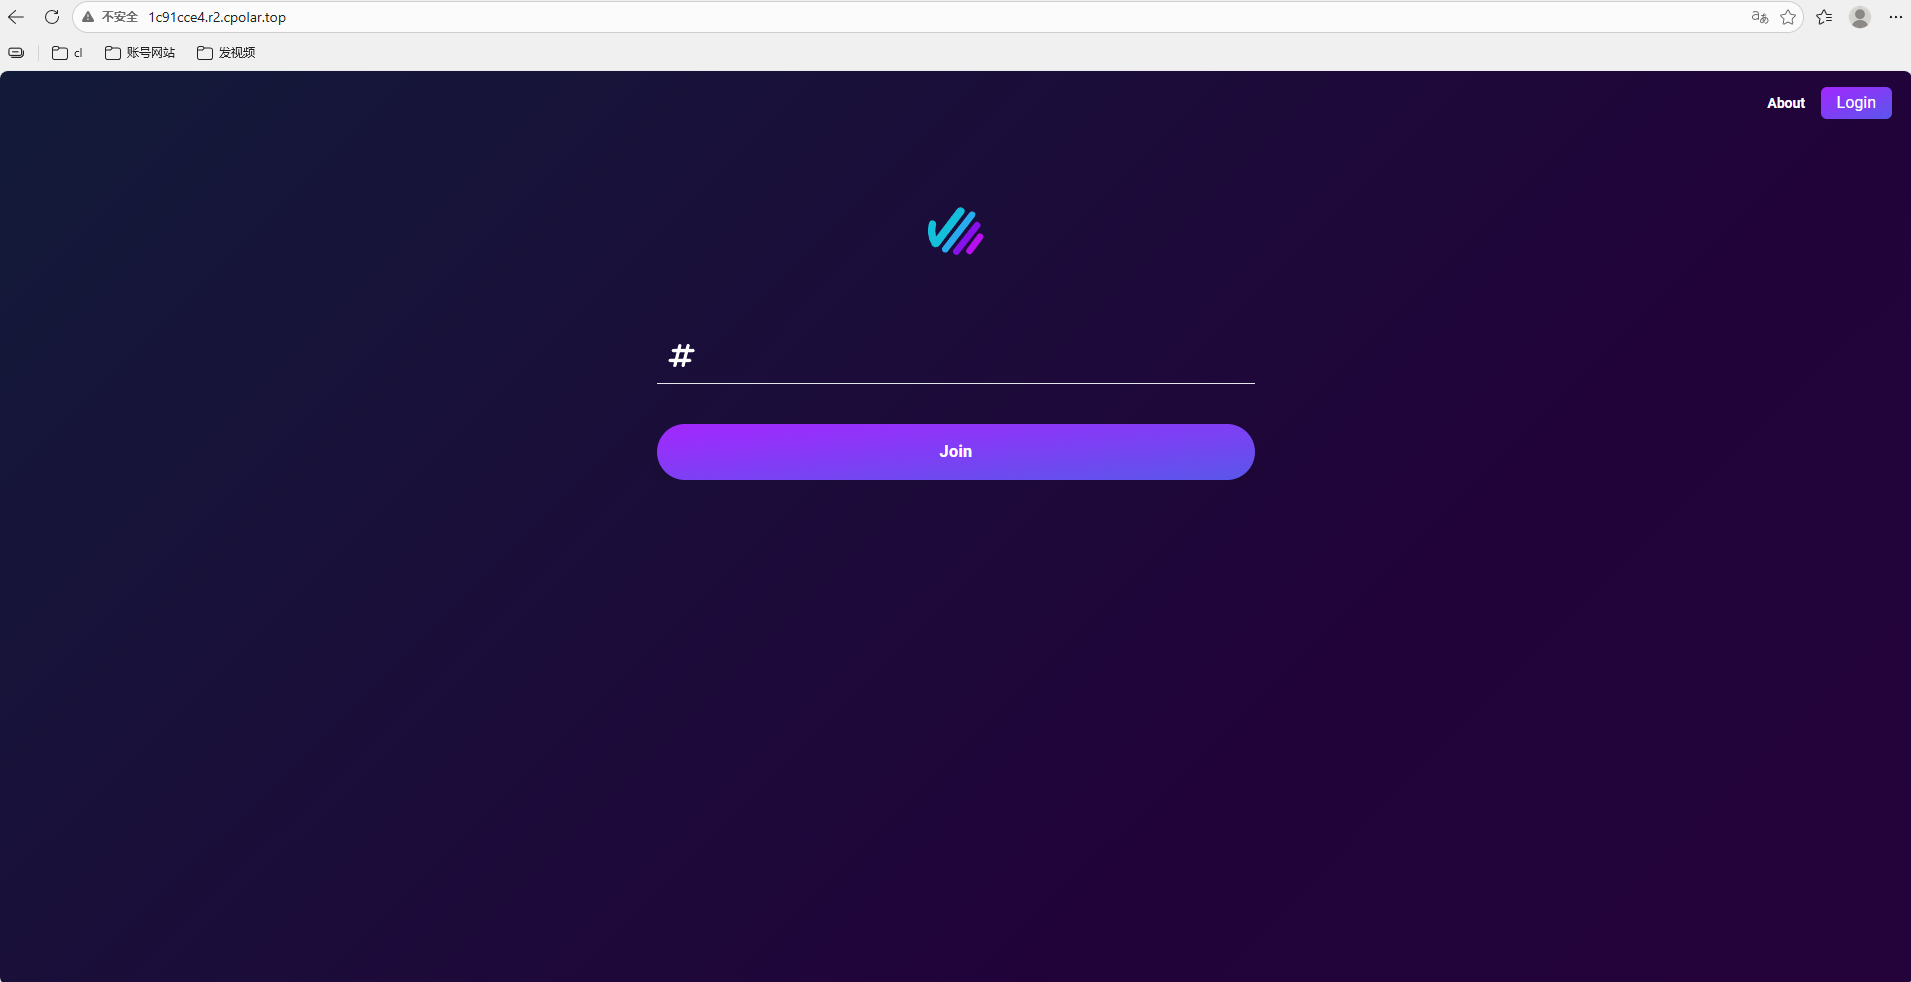
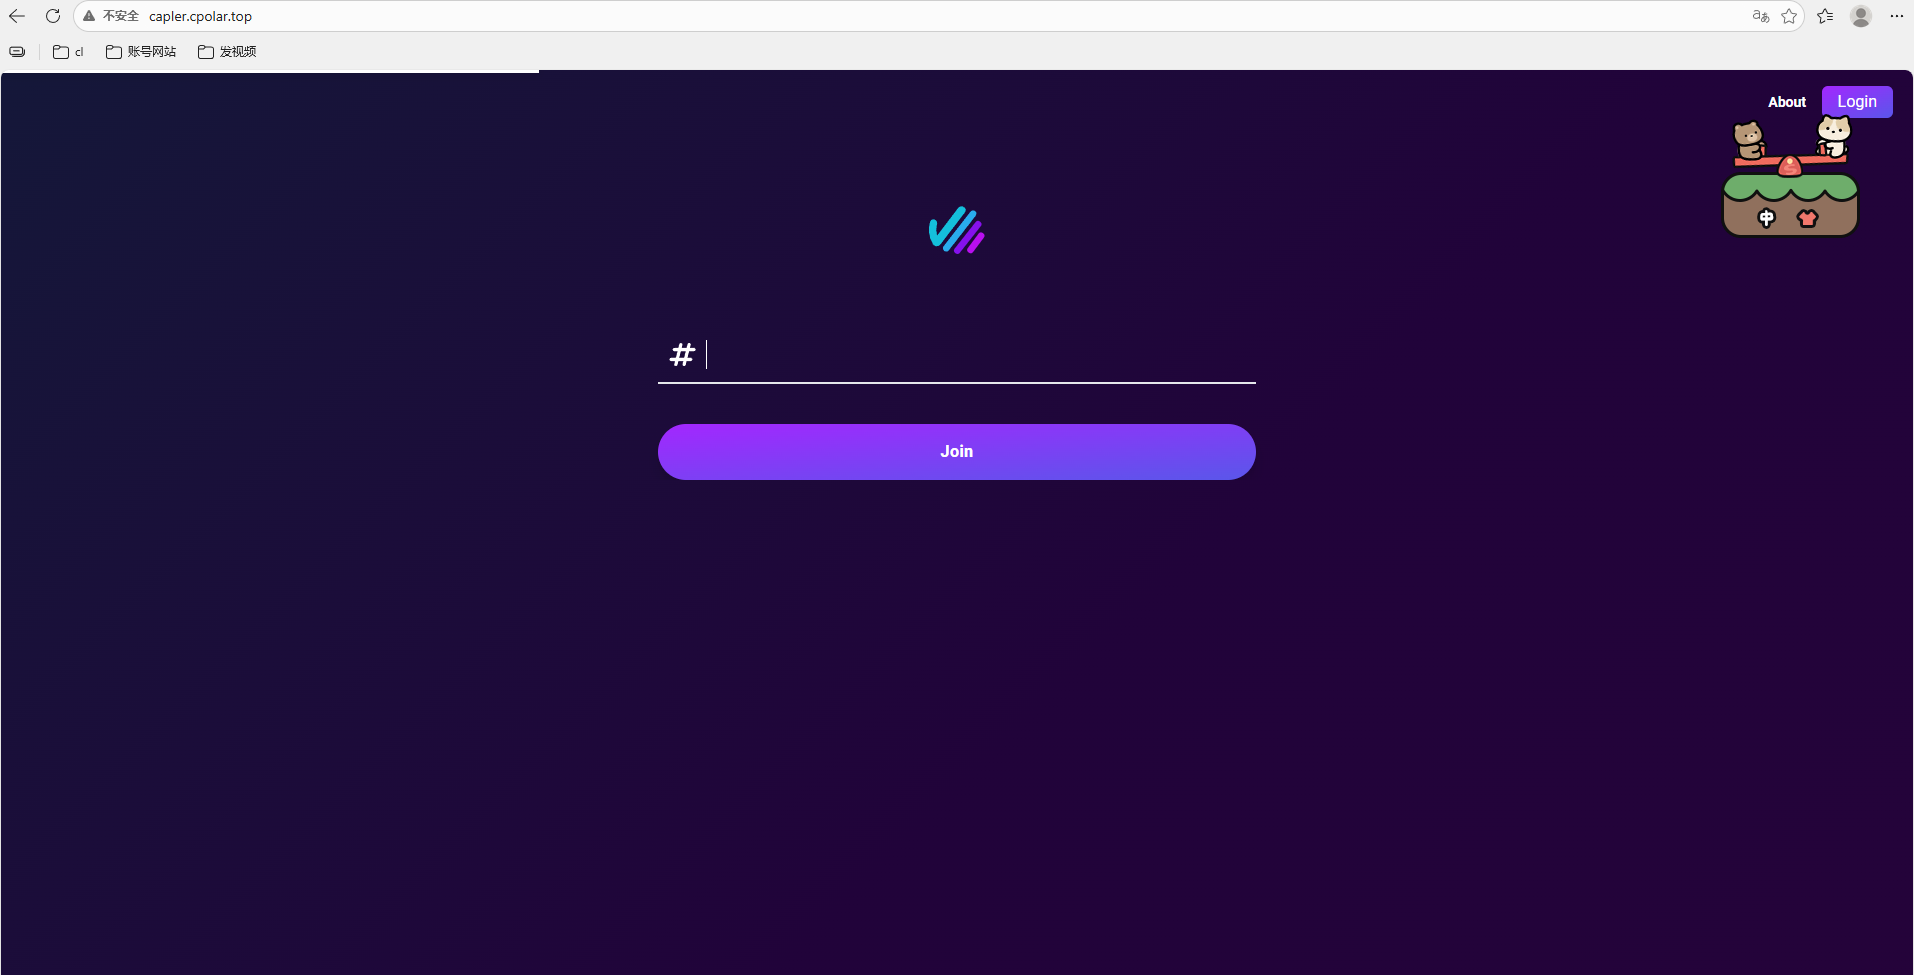
Next, use this address on another computer or phone, and you can access the locally deployed Claper page from the public internet.
After successful access, the page looks like this:
4. Reserve a Fixed Public URL
A random public URL can be used temporarily. But if you want to share the service with others for a longer period, an address that changes frequently is not very convenient.
So here, you can configure a fixed second-level subdomain in cpolar. After configuration, this public URL will no longer change randomly every time.
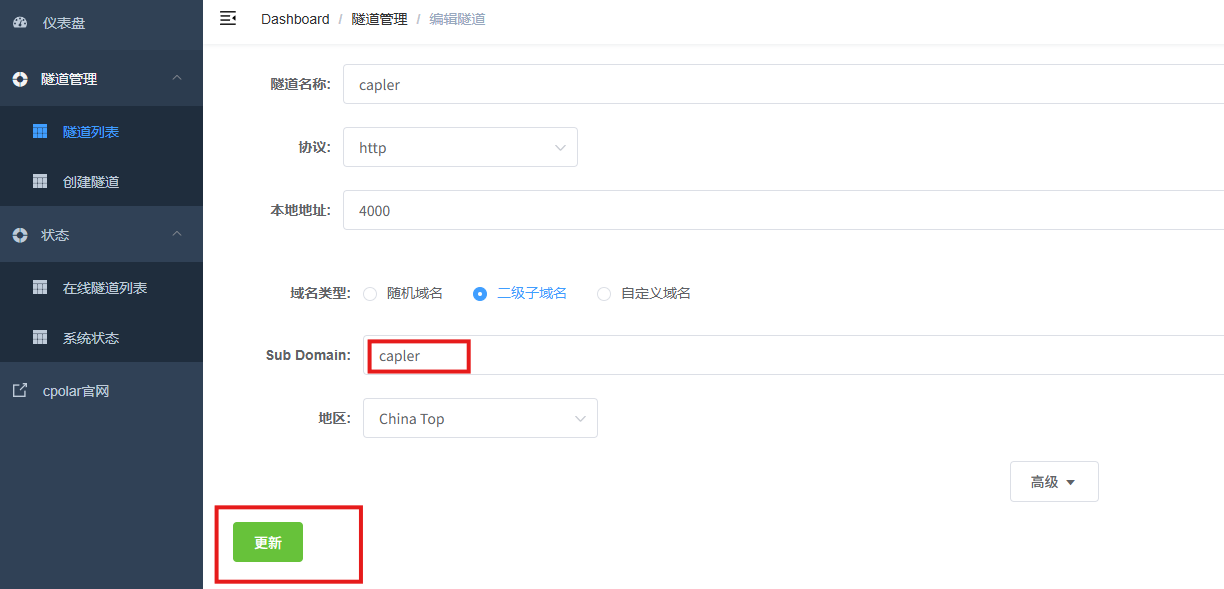
Click Reserve on the left, and select Reserve second-level subdomain. Choose China Top as the region, then set a second-level subdomain name.
In this example, the subdomain used is capler. You can customize it according to your own needs. After filling in the note information, click Reserve.

Then go back to the cpolar Web UI management interface. Click Tunnel Management → Tunnel List in the left dashboard. Find the tunnel you want to configure, and click Edit on the right.
Next, modify the tunnel information and configure the reserved second-level subdomain into the tunnel:
Domain type: choose second-level subdomain
Sub Domain: enter the successfully reserved second-level subdomain
Region:
China Top
After finishing the settings, click Update.
After the update is complete, open Online Tunnel List again. You will see that the original random public URL has become a fixed second-level subdomain URL.
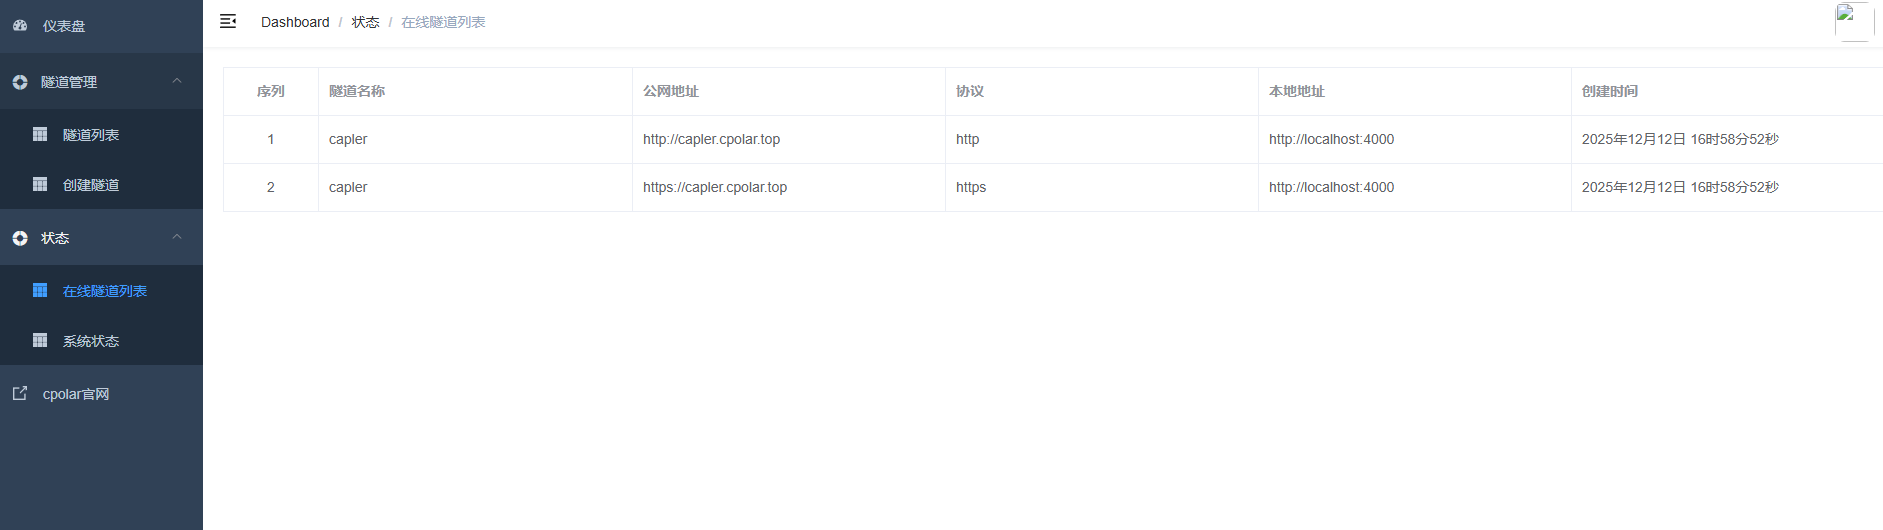
Finally, open the fixed public URL in the browser on any device. If the page opens normally, it means the fixed second-level subdomain public address has been configured successfully.
Conclusion
Claper does not solve the problem of PPT layout. It solves the problem of participation during a presentation.
The audience can view content, submit questions, and join polls on the same page. The presenter can also see on-site feedback more quickly. This approach is especially suitable for lectures, training, and launch events that require two-way communication.
Before using it formally, there are a few points worth checking in advance:
Replace the default database password in
docker-compose.yml.Use the following command to generate an independent
SECRET_KEY_BASE. Do not directly use the example value in this article.
openssl rand -hex 64After configuring the public URL, check whether
ENDPOINT_HOSTshould be changed to the actual access domain. Otherwise, invitation links or real-time communication may still point to the LAN IP.For the PostgreSQL image, it is recommended to use a version currently supported by the project. It is not recommended to keep using the older
postgres:9for a long time.
Overall, the core idea of this solution is clear:
First, use Docker to get Claper running. Then use cpolar to map the local 4000 port to the public internet. In this way, whether it is an on-site event or remote presentation, the audience can join through a browser.
For classrooms, training sessions, product demos, and online sharing, this approach creates more feedback than simply playing a PPT, and it also makes it easier for the audience to participate.
Claper FAQ
What is Claper?
Claper is an open-source interactive presentation tool. It helps turn regular PPT or PDF presentations into online sessions with polls, Q&A, and audience feedback. It is useful for classrooms, online training, product demos, and live events.
Can Claper be deployed with Docker?
Yes. Claper supports self-hosted deployment, which is suitable for users who want to manage their own presentation data, access links, and deployment environment.
Why does Claper need public access?
If Claper only runs locally or inside a private network, external users cannot open the presentation page. Tools like cpolar or Cloudflare Tunnel can expose the local service to the public internet, so the audience can join from a browser.
What does cpolar do in this Claper setup?
cpolar maps the local Claper service, usually running on port 4000, to a public URL. This is useful for temporary demos, online classes, remote sharing, and quick testing.
What scenarios is Claper suitable for?
Claper is suitable for presentations that need real audience participation, such as classroom interaction, online training, product launches, customer demos, internal sharing sessions, and remote events.
Related Tools
Claper: An open-source interactive presentation platform for adding polls, Q&A, and audience feedback to PPT or PDF presentations.
Docker: A container platform for quickly running Web services like Claper.
Docker Compose: A tool for managing multiple services, such as Claper and PostgreSQL, in one deployment.
PostgreSQL: The database service commonly used in Claper self-hosted deployment.
cpolar: A tunneling tool that can expose a local Claper service to a public URL.
Cloudflare Tunnel: Another tunneling option for exposing local services to the public internet.
Nginx: A common reverse proxy tool for domain binding and service forwarding in long-term deployments.
Let’s Encrypt: A free SSL certificate service for enabling HTTPS on custom domains.
Related Links
Claper Documentation: Learn the basics of Claper and its self-hosted setup.
Claper GitHub Repository: View the source code, releases, issues, and project information.
Claper Docker Image: Check the Claper container image and package details.
cpolar Documentation: Learn how to create HTTP tunnels, public URLs, and Web UI configurations.
Cloudflare Tunnel Documentation: Learn how to expose local services to the public internet.
Docker Compose Documentation: Learn how to run and manage multi-container applications.
PostgreSQL Docker Image: Check PostgreSQL container environment variables and initialization settings.


